
Let it be known, I am not a professional photographer. But if you're reading this, you're not either. I do, however, quite enjoy capturing my travels through a viewfinder.
But don't you just hate it when you get home from a trip, only to find your photos turned out a bit disappointing? Maybe they don't capture the moment or the landscape as well as you remember it. Maybe the portraits you took turned out way too dark. What happened? I can't tell you without looking at the photo myself, but I'm willing to bet I can guess what you might be doing wrong. All hope isn't lost either; I'll tell you how to easily improve your photography blunders.
Before we get started:
It doesn't matter if you're using a smartphone, a point-and-shoot camera, or a DSLR, these tips apply to all devices.
It's also worth noting, even if you're going to edit your photos later, it's much easier to add a filter or Photoshop a well-taken image than it is to fix a bad one.
Last, it's better to take more pictures than less - just in case you blinked, wore a funny smile or committed one of the following offenses. You can't go back in time (and space) to nab a new picture, so take a few!
Tip 1: Hold your dang camera straight
Why your photo looks bad: My number one pet peeve is looking at a photograph with what I call 'a drunk horizon'. I'll admire a photo and notice the photographer wasn't holding the camera straight...at all. That the photographer doesn't bother to fix it, tells me they're being lazy.
The fix: Luckily, this is an easy one to fix. Remember to consider the horizon (is your camera level?) when you point and shoot. And if you forget, you can easily use a photo editing tool to straighten your image.
Tip 2: Focus the lens
Why your photo looks bad: It's blurry.
The fix: This fix is so simple that really, taking a blurry photo shouldn't even be possible. But I see it all the time.
On a smartphone, all you have to do is take a short moment to tap the screen. It will focus on the subject you have tapped.
With a camera, hold the shutter-release button halfway down to focus, then press it completely to snap the now-focused photo.
Tip 3: Frame the shot
Why your photo looks bad: This has happened to me too many times to count. I'm on holiday and ask a stranger to photograph me. I make sure the settings are set, hand over the camera and smile. "Don't worry, it's just point-and-shoot!" I assure. At best, they snap a few pictures and hand my camera back; at worst they take one picture. Scrolling through, I'm totally bummed: I'm way off to the right or left of the shot. What in the world? Why? Surely, they have taken a photo before?
The fix: This is just a matter of absent-minded photo taking. It's an easy fix: what is the subject of your photo? Is it a pair of people? Is it a pair of people within the context of a beach? Are you trying to capture the couple on the beach with the sunset in the background? Where should you place the sun?
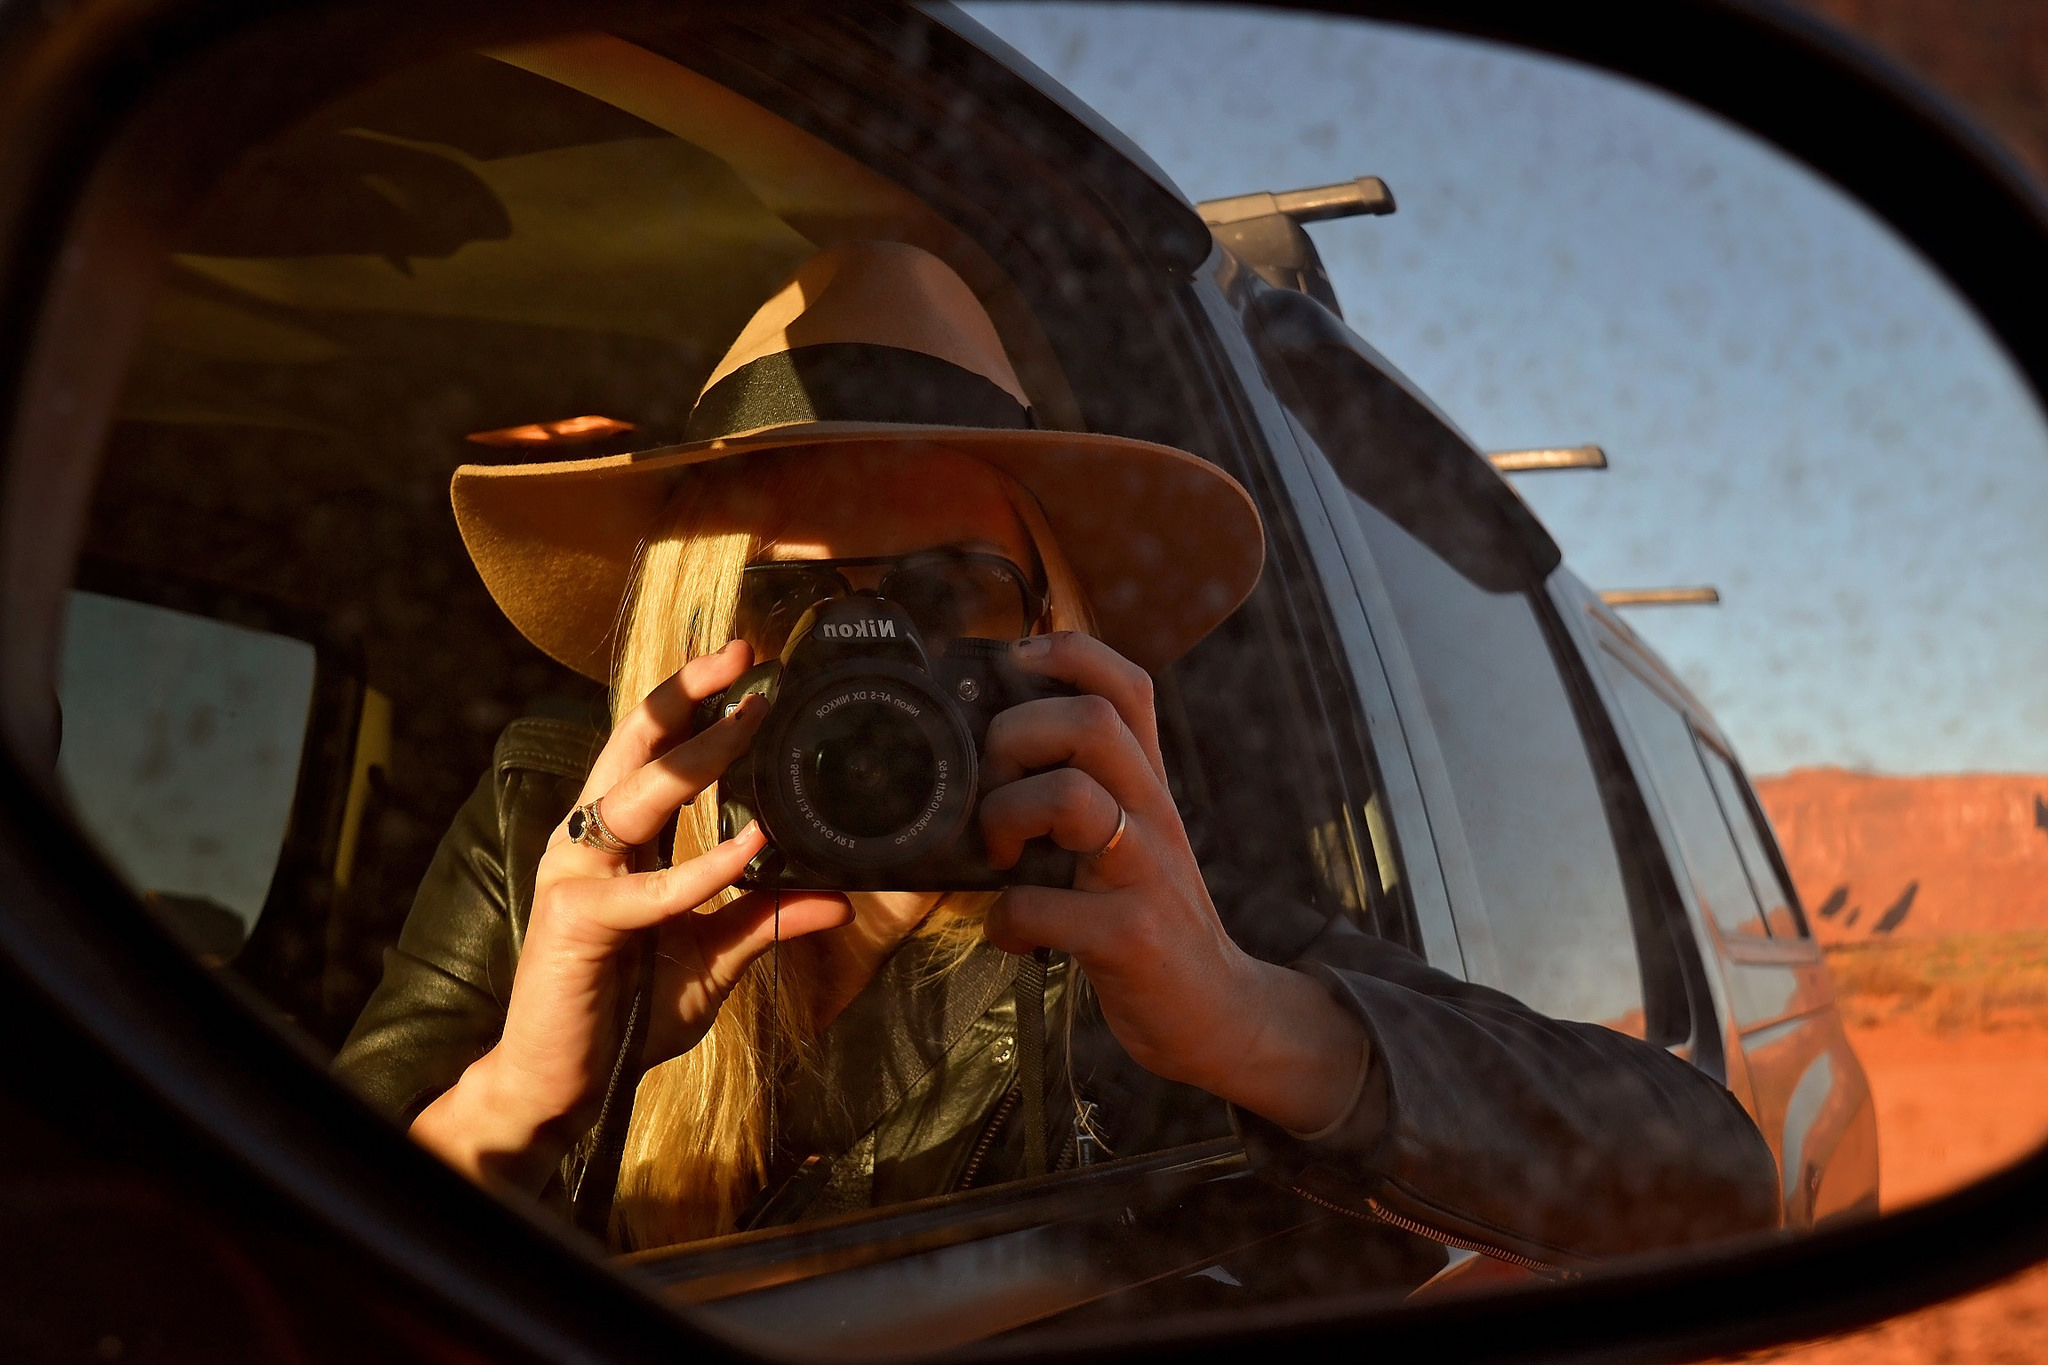
Tip 4: Understand the basics of light
 Jennifer Hubbert | An example of dream lighting, just after sunset in Varadero, Cuba
Why your photo looks bad: You took a photo during the day but the subjects in the foreground are so dark you can't see their faces. Alternatively, you're taking some pictures mid-day and everything is way too bright.
The fix: Without getting too technical, if you're shooting on auto, your camera will attempt to equally account for light and dark. It will try to balance the two unless you can manually change the settings.
Did I lose you?
Always take a test shot(s). If you're working with a DSLR you should adjust your shutter speed and aperture to allow for more/less light. If you're taking the picture with a smartphone or point-and-shoot camera you'll need to physically move your body to control the light. (I.e. moving to the other side of a person to stop from shooting their portrait into the sun.)
 Jennifer Hubbert
It's worth noting that photography is the art of light. There is a huge difference between taking pictures in the morning, afternoon and in dusky light.
Don't kick yourself if you can't recreate an image you saw online. There are a lot of factors and light is an important one. Photographers often time their visits to certain attractions based specifically on daylight.
I also don't want to convey that you can't shoot into the sun. Consider the image above: it was 11:30 a.m. and I was standing the shadow of the Superstition Mountains, shooting into the sun. Learning about your camera's settings and its relationship to light sounds intimidating, but trust me, you'll really enjoy the depth it brings to your travel pictures.
Tip 5: Your lens is bunk
 Álvaro Serrano
Why your photo looks bad: You take a photo but it doesn't capture what you're really seeing.
Consider the age and limitations of your camera. When I was road tripping through the US, I spent a lot of time shooting expansive landscapes. With the exception of using the panorama feature, I could only, say, capture half of Monument Valley. What gives?
Well...the limitation of a smartphone camera lens is that it isn't a wide-angle lens. The same thing happens with DSLRs too. The lens that came with your basic DSLR was likely a 18-55mm lens, which is practical for most things. But photographing that lion out on safari or the expansive Landscape Arch at Arches National Park will require a specialized lens.
The fix: Buy a separate lens.
Rookie DSLR users might consider graduating to a more specialized lens: wide-angle for landscapes, telephoto for wildlife or a prime lens for shooting portraits.
 Olloclip
Easy for DSLR cameras, but what about smartphones? Can you get a lens for smartphones? The answer is yes! I use Olloclip for iPhone. Olloclip lets me upgrade my phone's camera with a 4-in-1 lens that easily slips onto the phone. You can take wide-angle and macro (close-up) shots, but it's the fisheye effect I have the most fun with.
 Jennifer Hubbert | DSLR left, Olloclip right
Check out the difference it made when photographing Landscape Arch. The image on the left was shot with my DSLR. The picture on the right was taken with Olloclip and an iPhone 6. Isn't the one on the right more interesting? I've captured the entire arch and the foreground gives the viewer some added context. Did I mention my DSLR cost $600 and Olloclip is just $94.99? Plus, toting a bulky DSLR everywhere can be a drag.
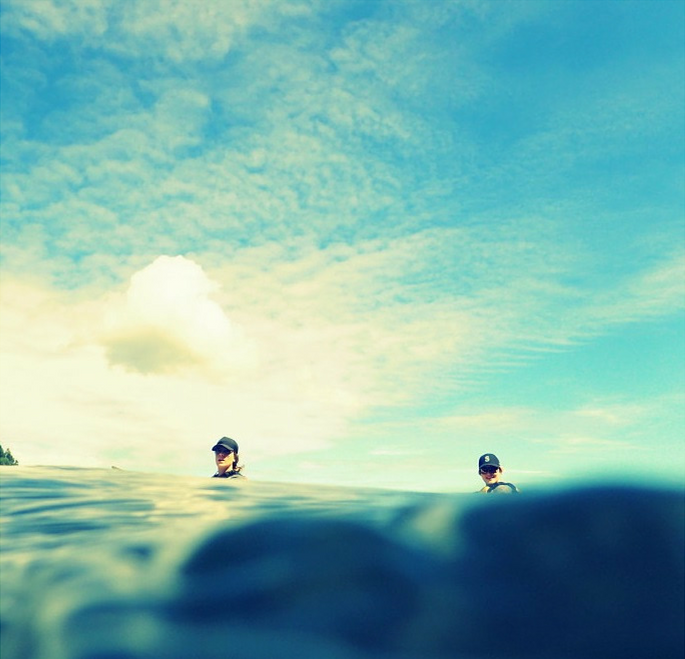
Tip 6: Choose more interesting angles
 Jason Bell
Why your photo looks bad: It's not even to say it looks bad, but maybe it's not interesting. If your photos are turning out flat, I'm willing to guess that you fired the shot at eye-level.
The fix: Use your legs! Squat down and angle up. Get high: jump up on a bench or chair and angle down. You might despise a 'selfie stick' but you're sure to get some more interesting angles. The image above could have been a picture of my friend and I in a kayak. Instead, the person taking the photo decided to half-submerge the camera in water. Neat right?*
*Only neat if your camera is water resistant!
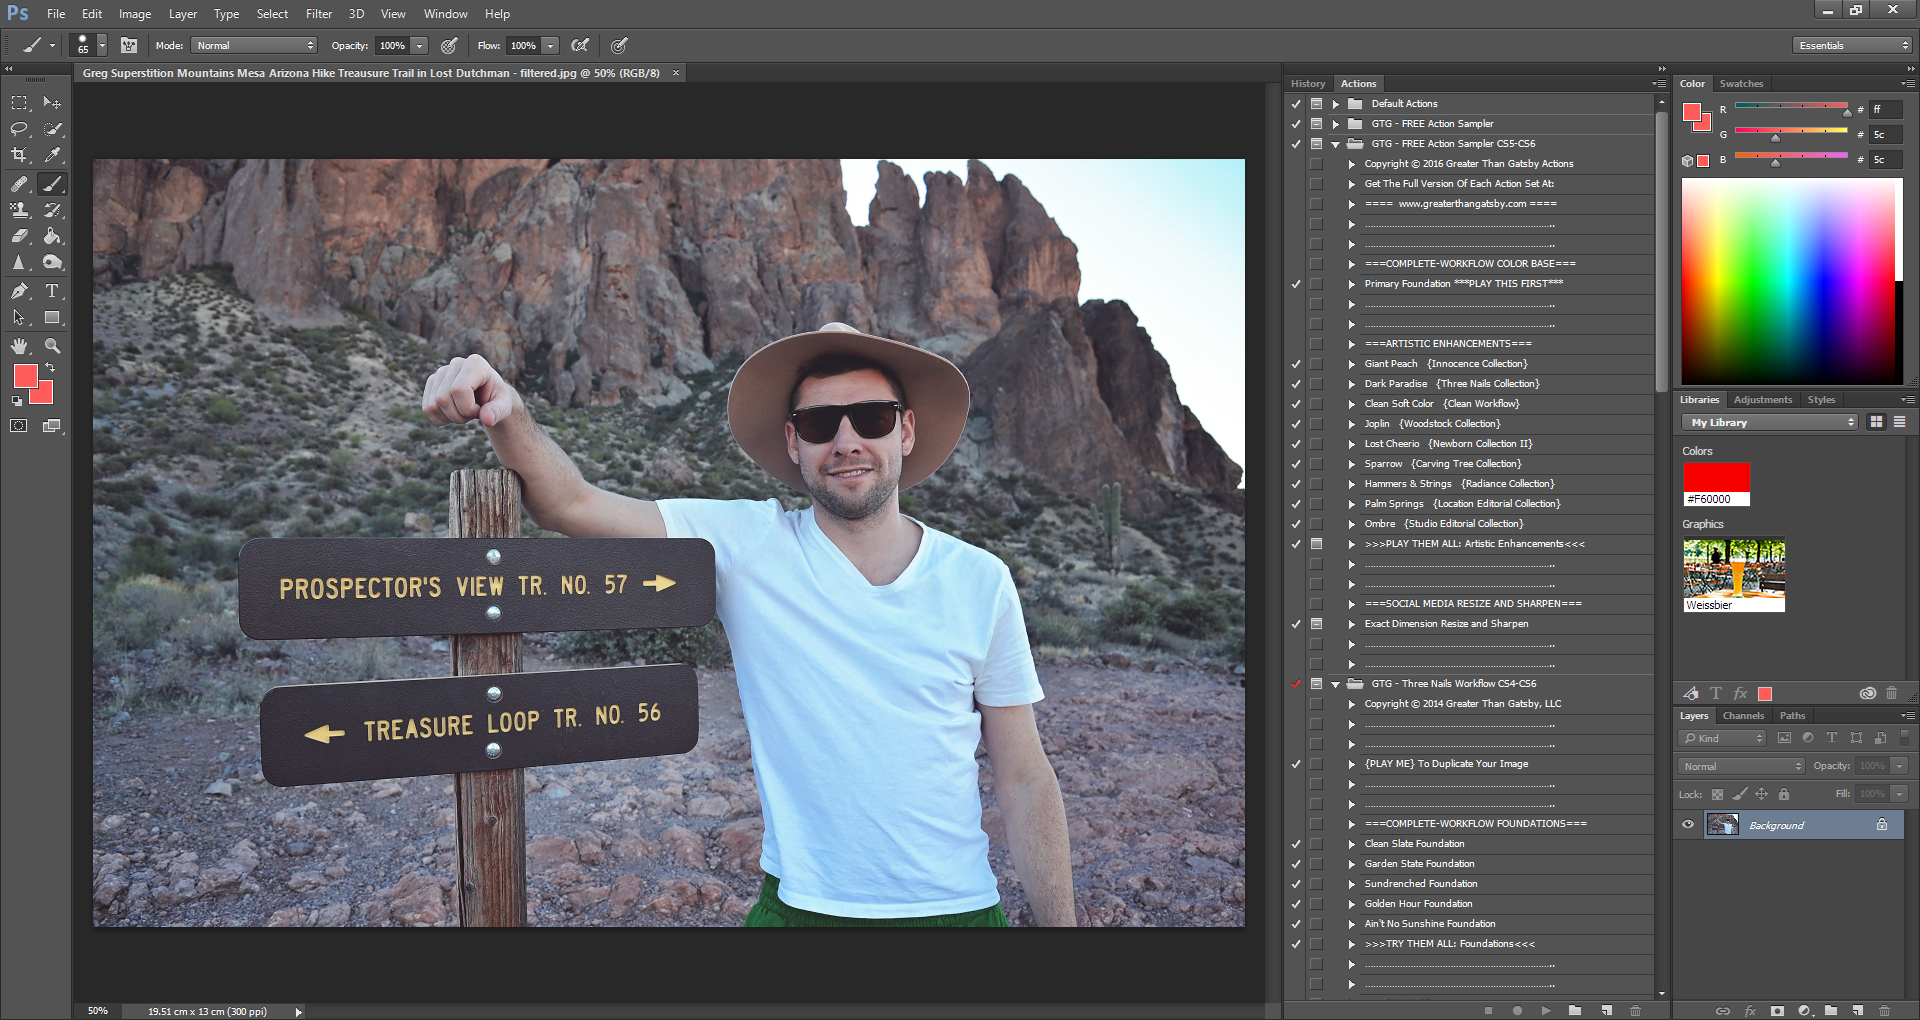
Tip 7: Edit your photos
 Jennifer Hubbert
Chances are, your pictures could use some help, and I can promise you, most attractive images on the web have had a little - or a lot - of help.
The fix: You could use Instagram, Lightroom or Photoshop to edit your pictures. Not so savvy? Simply typing 'basic photo editor' in Google will produce tons of programs that allow you to crop, straighten and brighten.
I'm no Photoshop whiz, but I get around pretty well with 'action' sets. Basically, they're like Photoshop recipes. I open my photo, click which actions I want applied and then Photoshop automatically performs all the mini-steps needed to achieve the desired look. Find out more about actions here or navigate over to Youtube and watch a tutorial.
Tip 8: DO NOT over-enhance

Just as people use make-up, photo editing and filters should be applied to enhance, not paint the illusion of beauty.
Why your photo looks bad: You've used too many Instagram filters or you've over-saturated the colours. The image above has been colour-enhanced and it's obvious. Notice that blue sky? That colour doesn't exist. Now that I've pointed it out to you, you can never un-see it.
The fix: Go easy on the filters. Did you know that in most photo editing programs you can apply the filter or effect and then toggle down to fade the filter's intensity?
A few words on Instagram filters: I actually don't usually use the presets. At present, there are 26 filters you can apply and I don't think I've used most of them. (Who needs the X-Pro II filter, really?) Instead, I leave it on 'normal' and click 'edit'. Typically I manually bump up the brightness, increase structure, manipulate the saturation (but not by too much!) and play with tilt-shift if it suits me.
Tip 9: Sharpen
Why your photo looks bad: It's not so much that it looks bad, but most images will benefit from a gentle sharpening tool.
The fix: Use your preferred photo editor to sharpen slightly.
DISCLAIMER: My 4-in-1 Olloclip lens was provided to me by Olloclip for review. It retails for $94.99. Available for iPad and iPhone 5-7.
Was I able to help?
Let me know: comment below or tweet me @gypsetjenn
Travel photography on Canadian Traveller: